For Christmas my wife got a new Cameo Silhouette, which, among other things, can cut vinyl. While thinking about various things I could have her do with it, this one sort of bubbled up to the surface as a fun little project. The following is the build log of its creation. This took course over about 10 days; partially due to lack of spare time and partially due to the need for things to dry/cure/etc. My wife provided a good sounding board throughout on creative and aesthetic pieces. She also did a great job on the various vinyl parts. Overall the cost was more than I had planned on, but that was largely due to the LEDs. Good LED light strips are not cheap. The acrylic wasn't expensive, but it wasn't cheap either.
I started out looking around local and online places to get the box itself. I wanted to get a a metal framed shadow box, but no one seems to have them. A custom built one was possible, but costly. In the end a metal one would have been *far* better and would have solved a couple of issues I had down the road, unfortunately I had to end up with this one: http://www.michaels.com/studio-d%C2%8Eecor-shadowbox-black-6x14in/10223093.html#start=4 . It is a plastic resin box with a glass front.

The side panels were held in place by metal pins. Popping the sides out and removing the pins with a set of pliers was pretty simple.

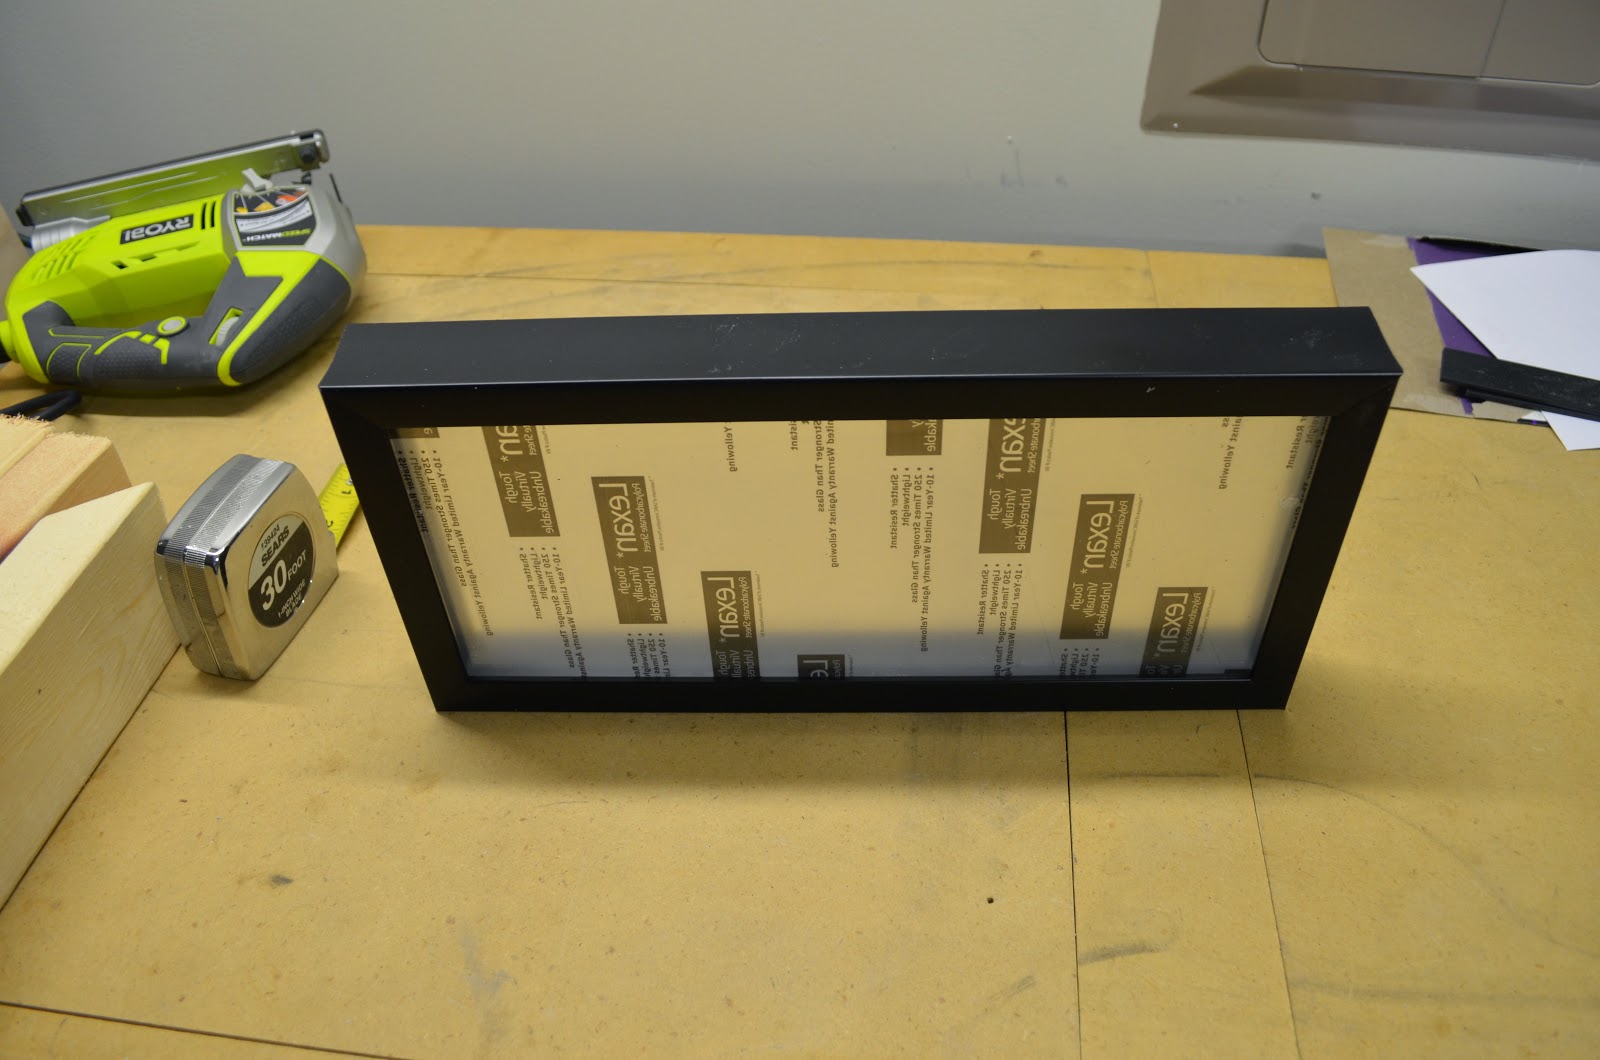
Next I took my acrylic (about .093" thick) and drew up the lines for the front panel. I also had hoped I could squeeze a new back panel out of this one sheet as well. As it turned out it was 1/8" too short and I had to get a second piece. The other thing I didn't have was a proper straight edge for the cutting. A level did the trick in a pinch, but it was annoying.
In this case I used a simple jigsaw with a fine tooth blade.


Once cut I took a file to the edges to smooth out the stuff left over from the cuts. The edges didn't need to be perfect since they were hidden in the box, but I didn't want balled up acrylic lying around either.
I also got to get a little bit of an idea of how the frosting would look (though that was just the protective covering).
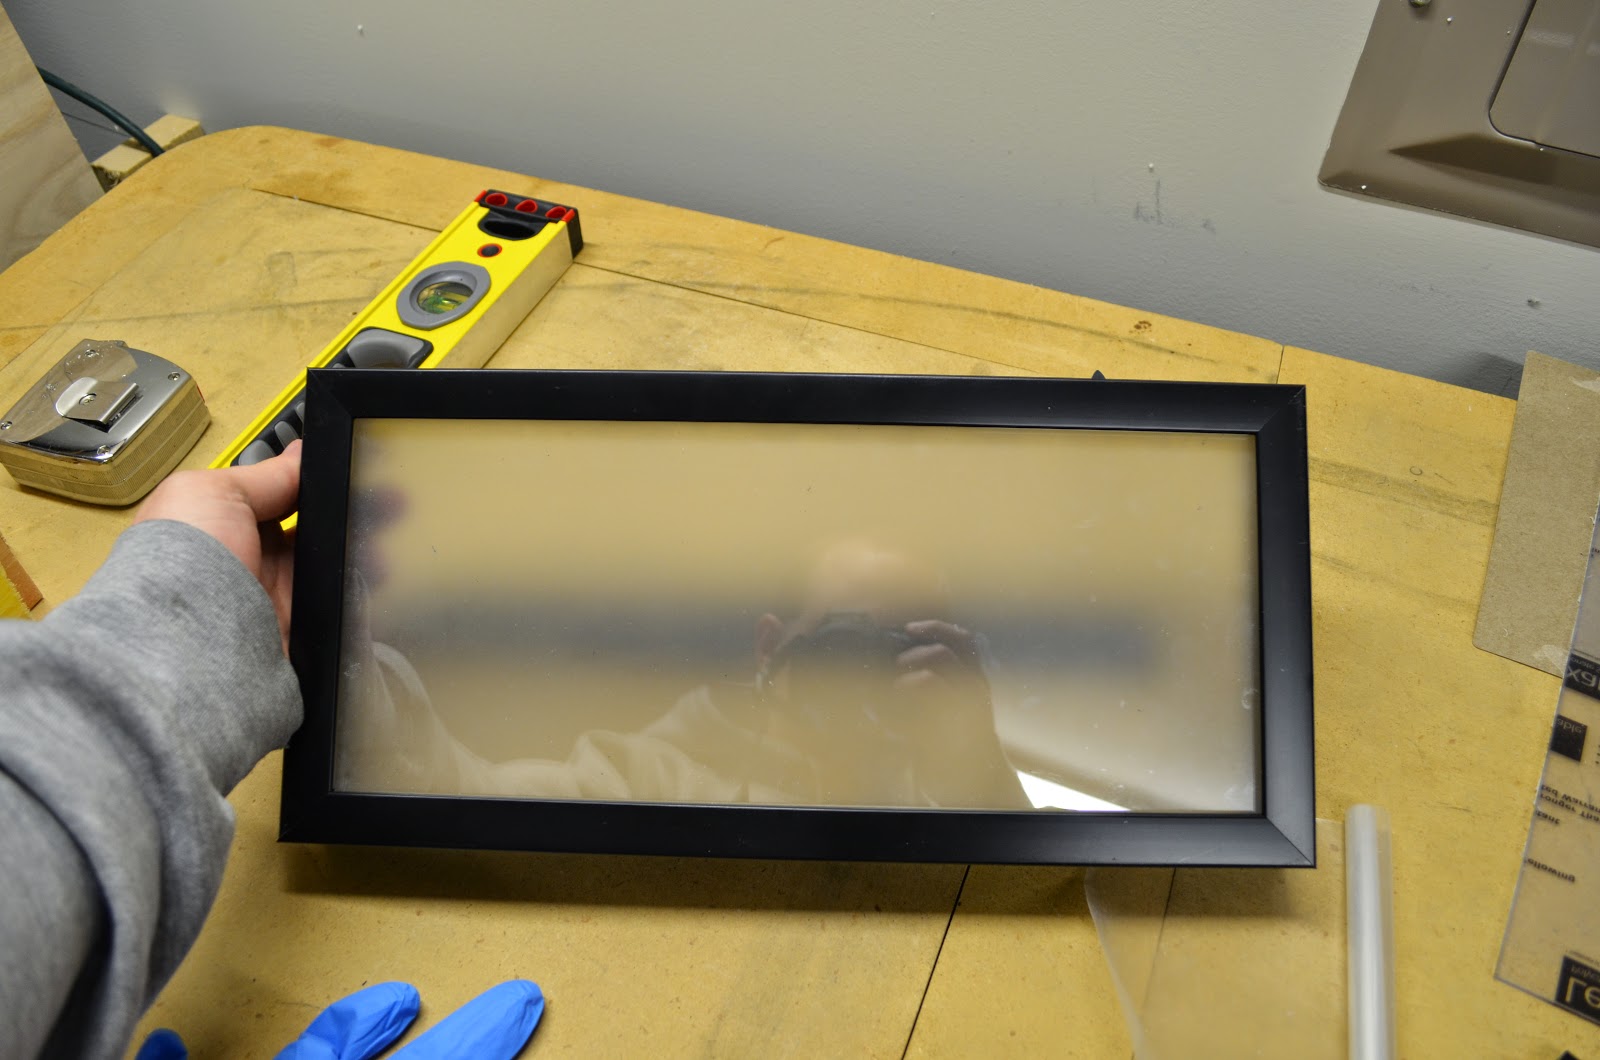
I then did 2 coats of frosting on the acrylic . Once they cured it ended up looking pretty good.
Next I took the 4 side pieces from above and cut them down 1/8" to account for the 2nd sheet of acrylic inside. I took those 4 pieces and the new acrylic back plate and painted them white. This was done to help reflect the light inside the box better than black. It isn't shown, but I painted the back of the back panel black.

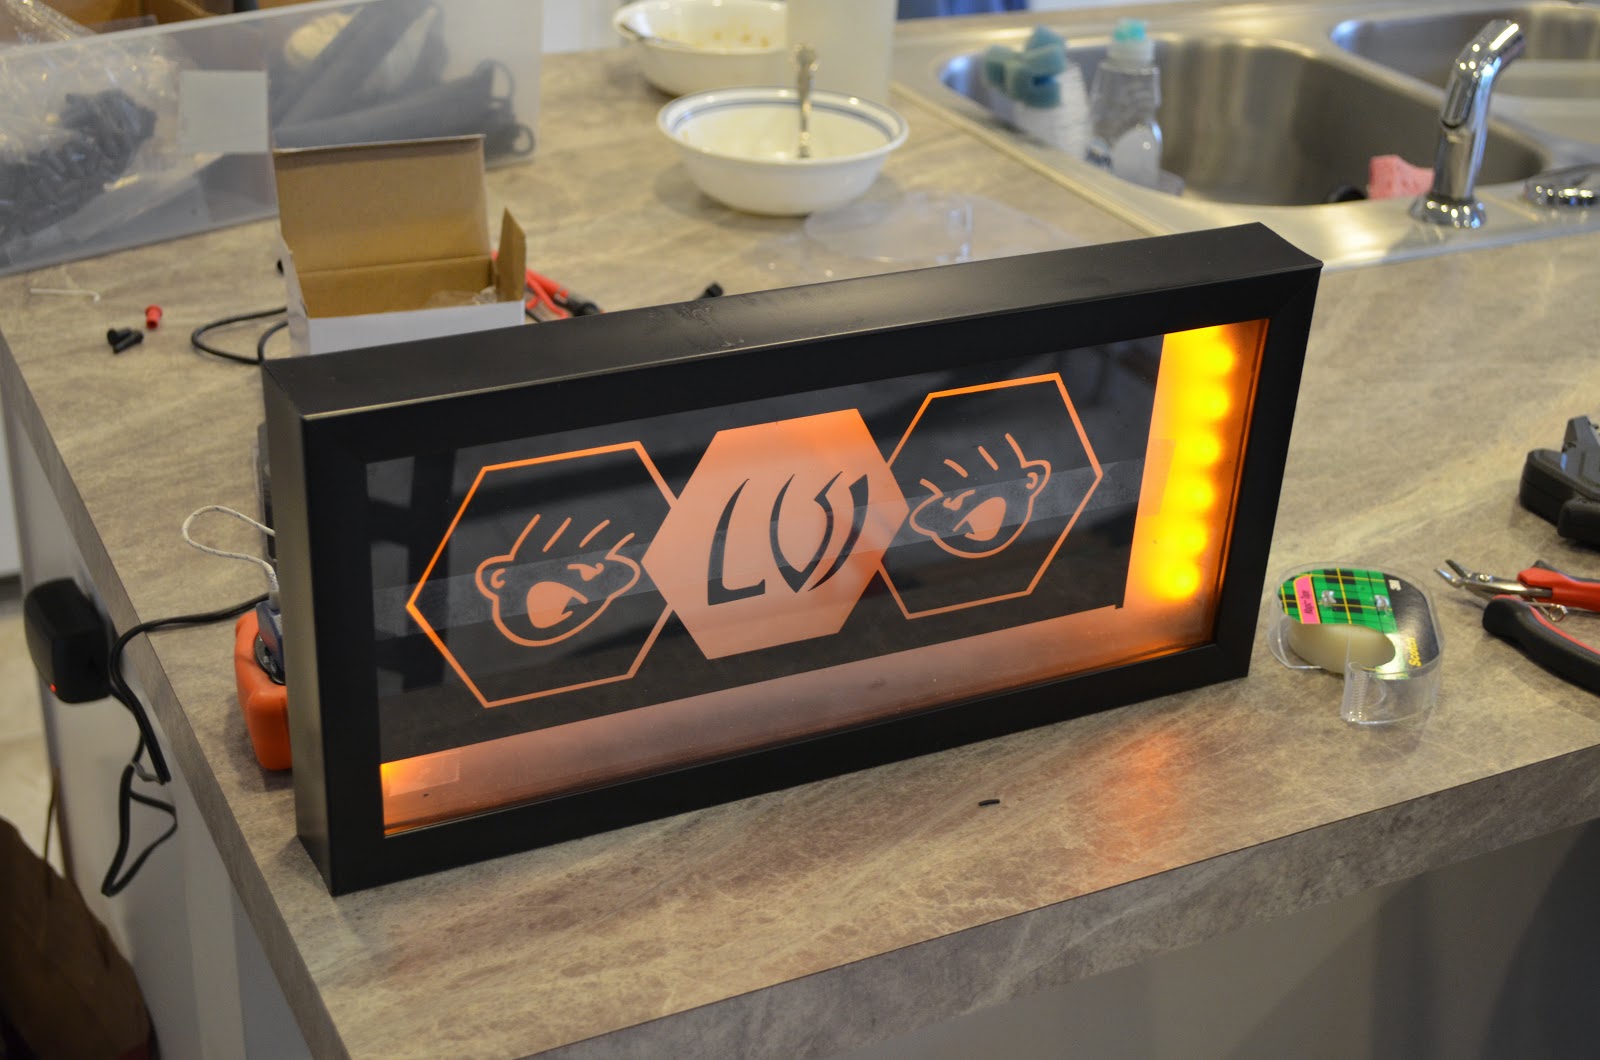
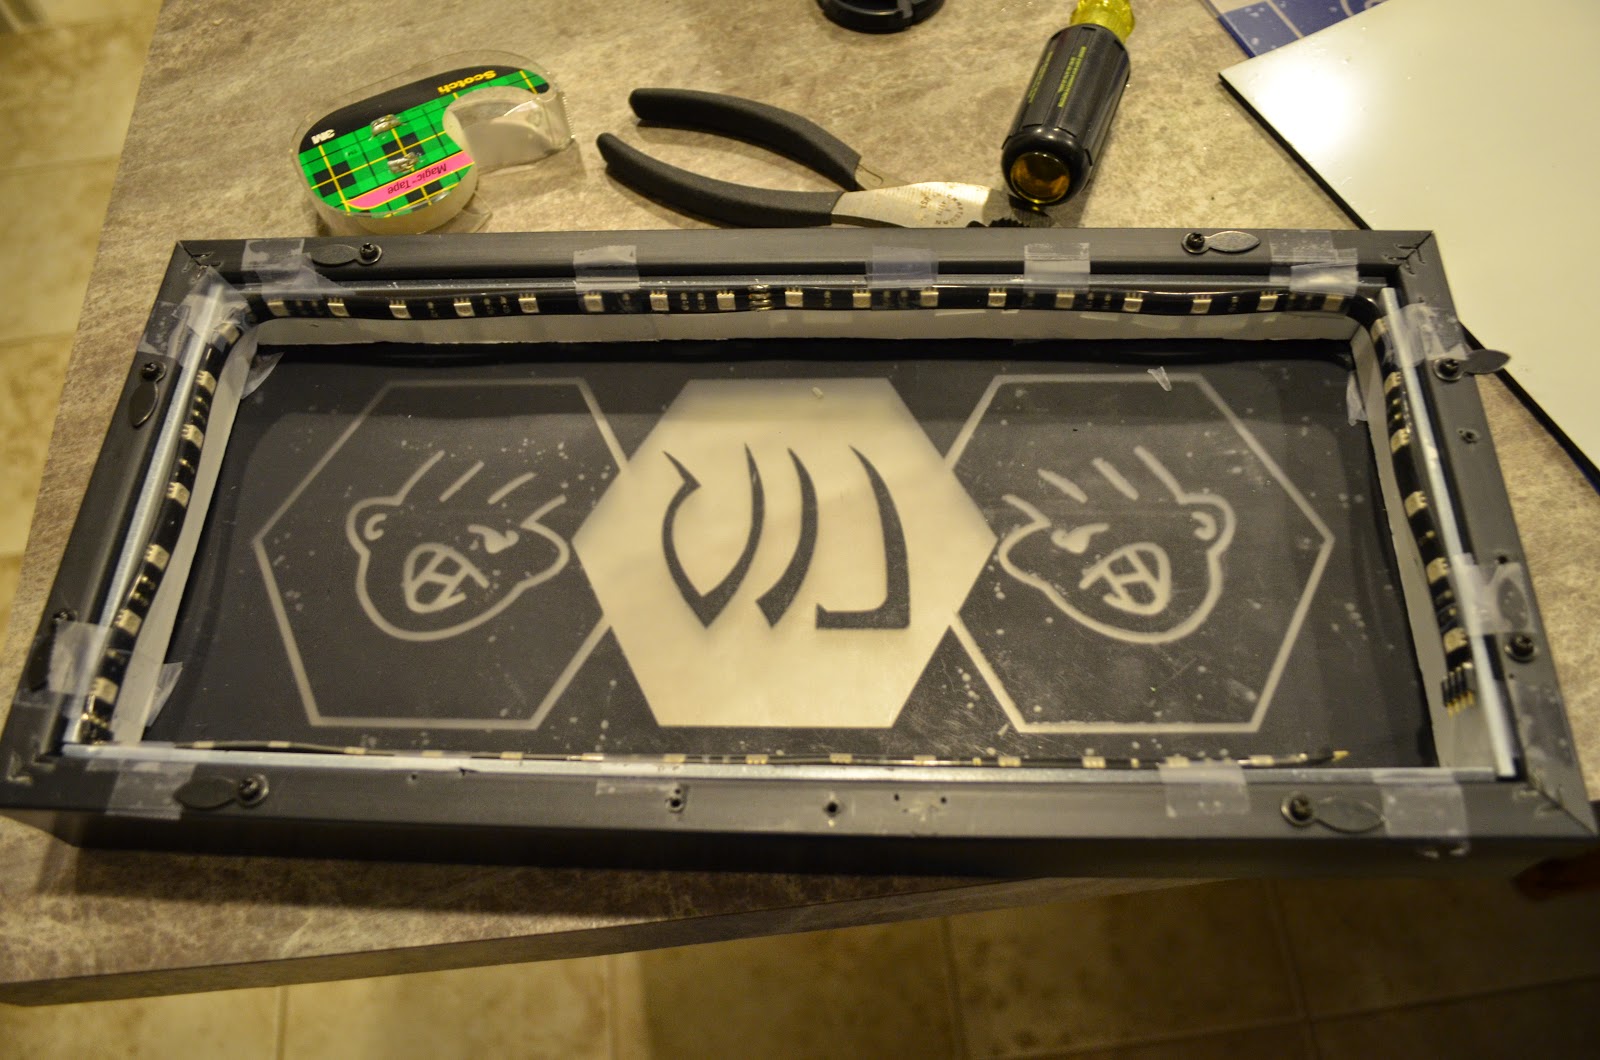
Once everything was dried from the painting I started working the lighting. Initially I did a-lot of dry fitting with tape while trying to figure out how things looked. When I first started I only had the orange LEDs in, for whatever reason the white ones were 2 days behind. I also only had a paper version of the logo cut out because we were waiting for the vinyl. That said, it already looked like it could work.
I knew the LEDs were going to get warm, so I stuck a temperature probe in the case and left it for a few hours. Turns out the probe was faulty, but after feeling it for a while, I felt it was going to be ok.

When I finally received the white LEDs I discovered a rather large issue. In total there were some 30 orange LEDs in the string, however just 1 white LED almost completely washed out the other 30 (and the white LED string had like 15). I had also ordered a 12v PWM controller to control the brightness of the LEDs. But as dim as the orange ones were, I really didn't want to dim them more. Another issue was that the PWM controller box was far too bulky. (You could see it through the frosting)
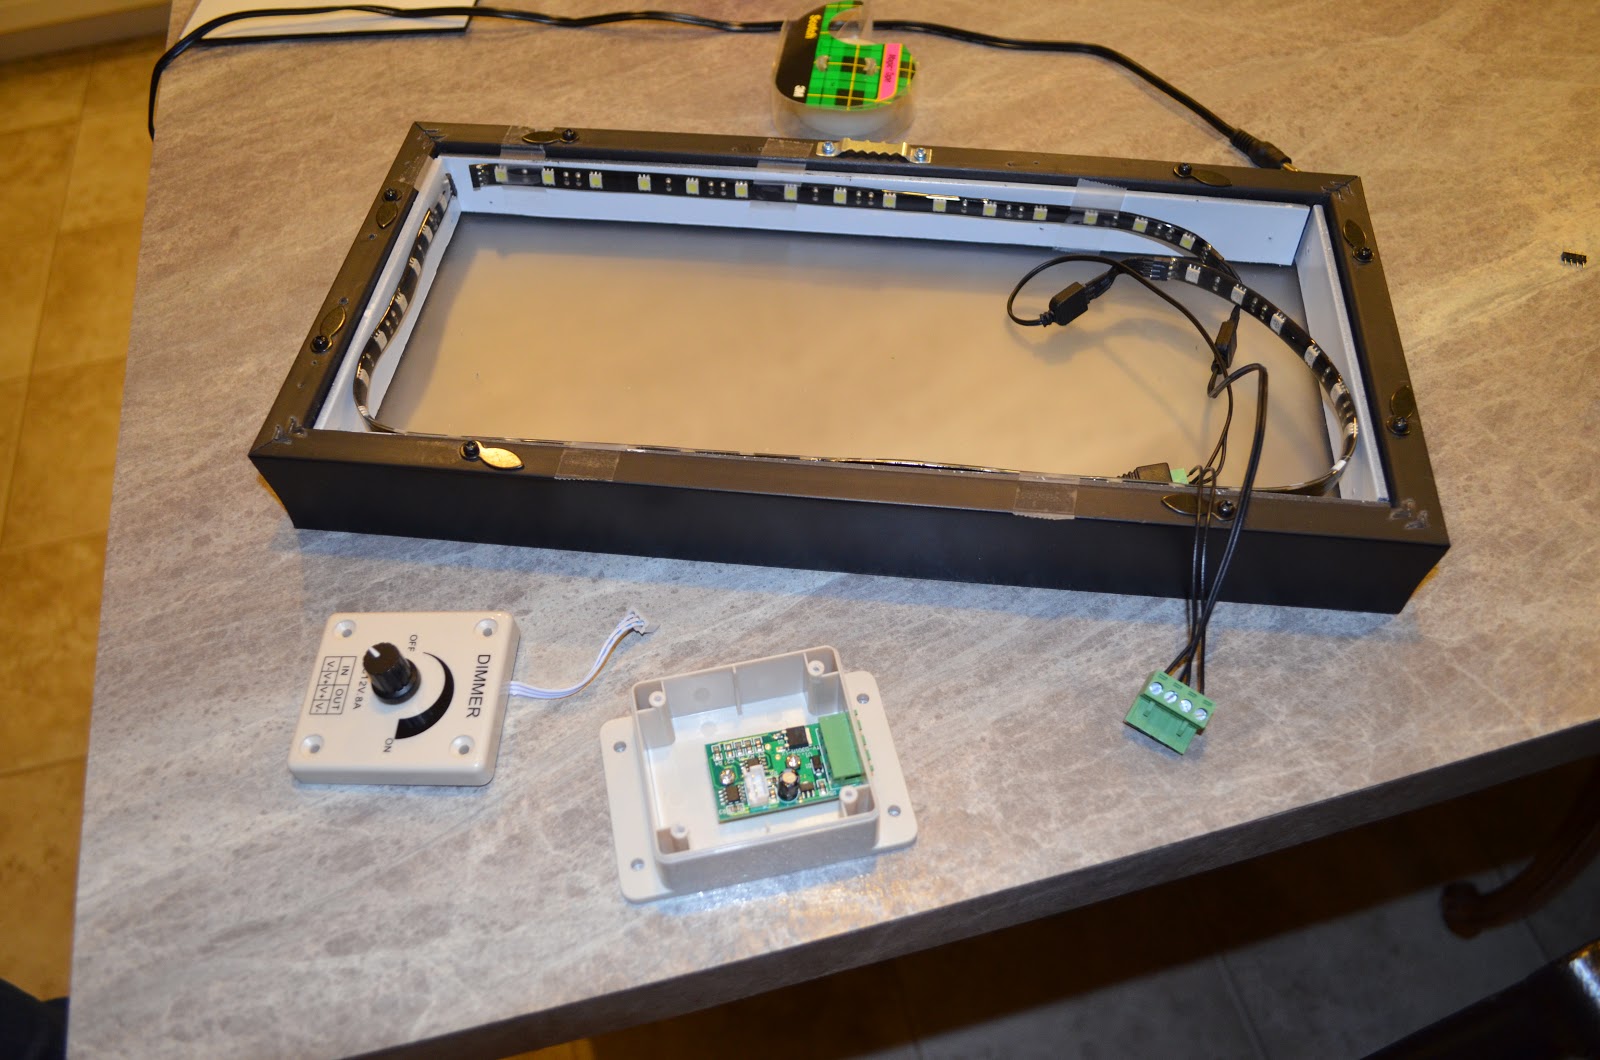

I wired everything together temporarily to make sure it would work as expected and it did.

My plan was to then cut a hole in the inside side of the frame and stuff the controller board inside there. To my dismay though it was filled with some sort of stiff foam. I attempted to carve out a area of it anyway (knowing the board would be behind the side panels), but ended up cracking the outside of the frame entirely (ruining the box). Thankfully I had a 2nd one that was buy one get one free when I bought the original. This meant the board had to be inside the box. In the end I left it on the back.
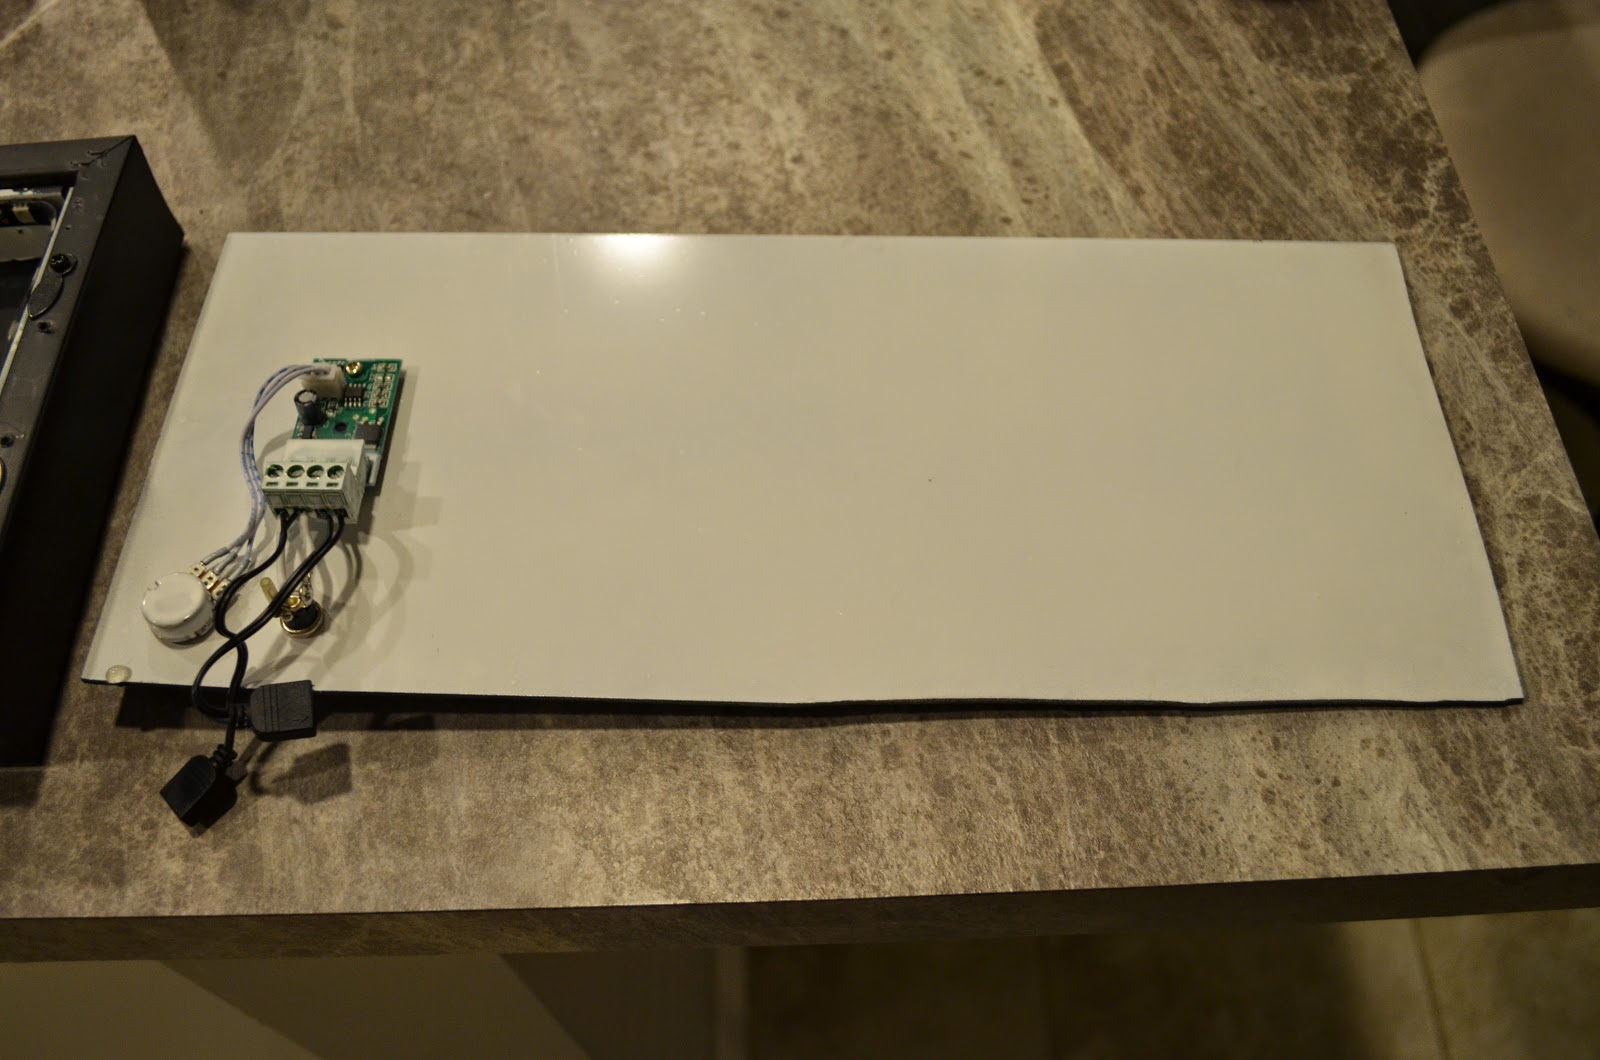
I ended up painting the back of the dial and the terminals for the controller white so they wouldn't show up quite as much through the frosting. In the end this worked out pretty well. I also cut a small piece of acrylic for the back of the controller and screwed the controller to it. This let me epoxy the controller board to the back of the box without issue.


Next I started to work on the permanent wiring for the whole thing. Originally I started out with the only white wiring I had. Unfortunately this was 16 gauge wire normally used for computer power supplies. It was far too large to work in this application.
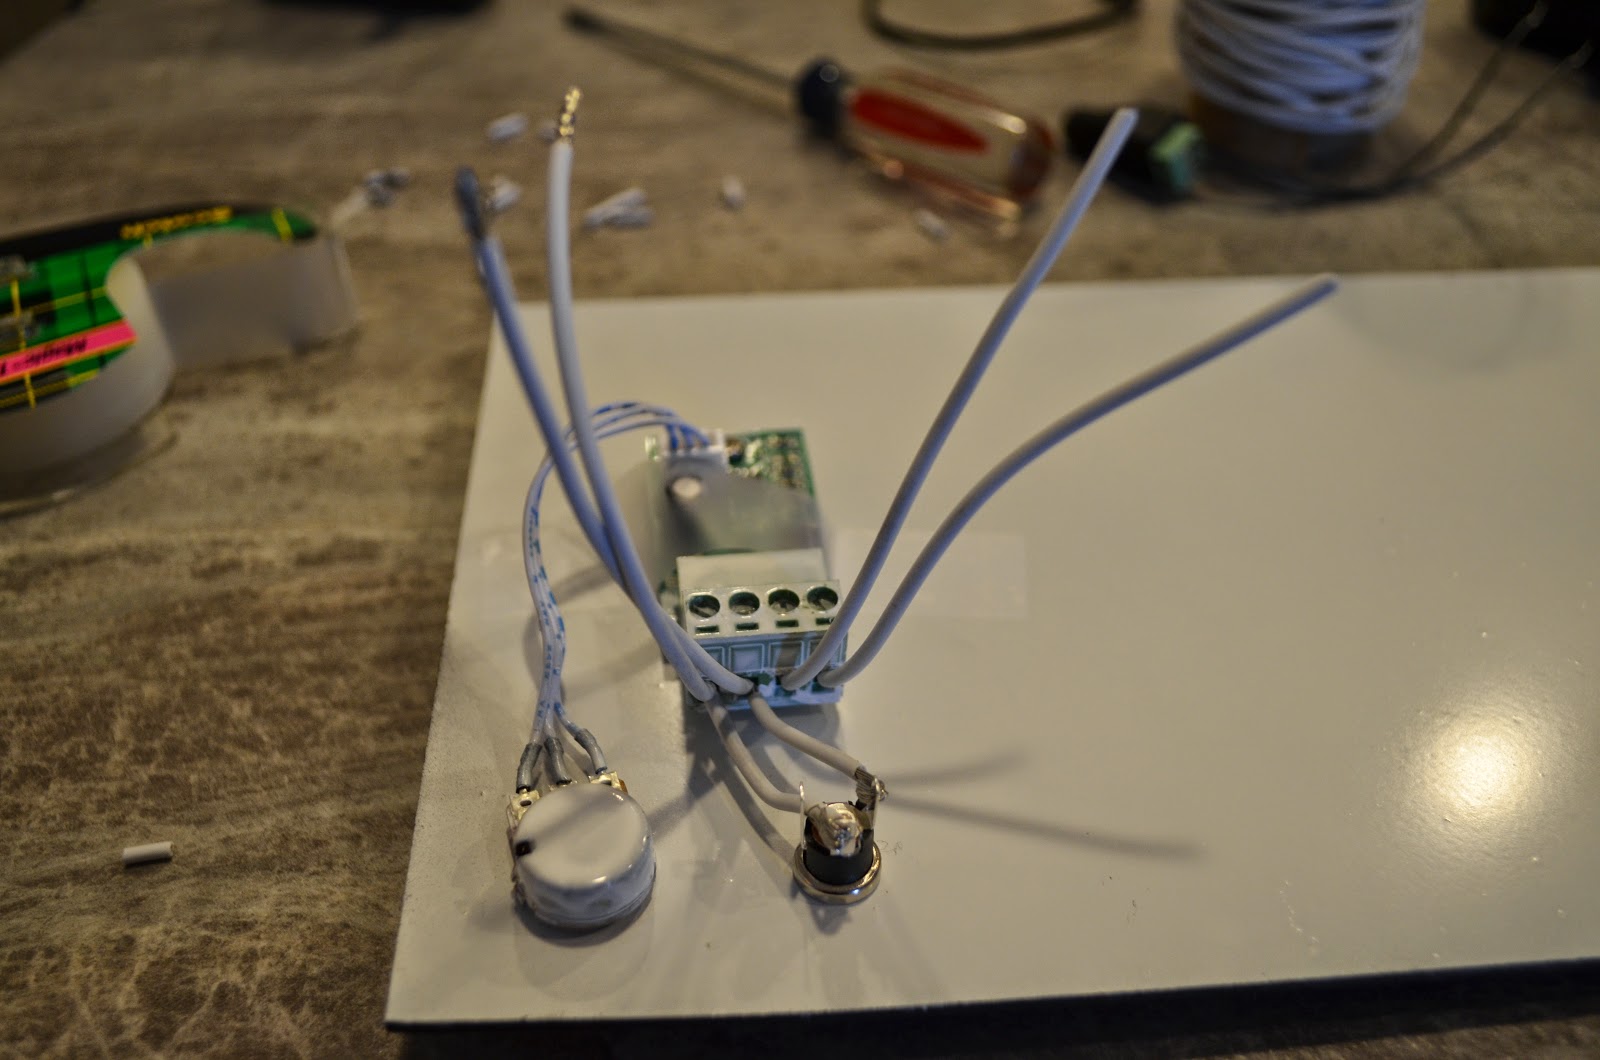
Next I attempted to use the normal wiring that comes with the lighting, but with a white heat shrink wrapping. This worked, but only a little. The heat shrink was too stiff over the length of it to be useful in the tight spaces I was dealing with.

I did a final fitting of the lighting and controller using tape just before assembly.
The side panels and the back of the controller were adhered with Guerrilla Glue 2 part epoxy. The light strips were adhered with your run of the mill super glue. With everything firmly in place it was time to plug it in and make sure everything still worked. (no reason it shouldn't have, but :) ).

Finally on the back we put on a level decal over the dial and a decal for the person receiving this item. In this case Troy Schwartz AKA Burden.

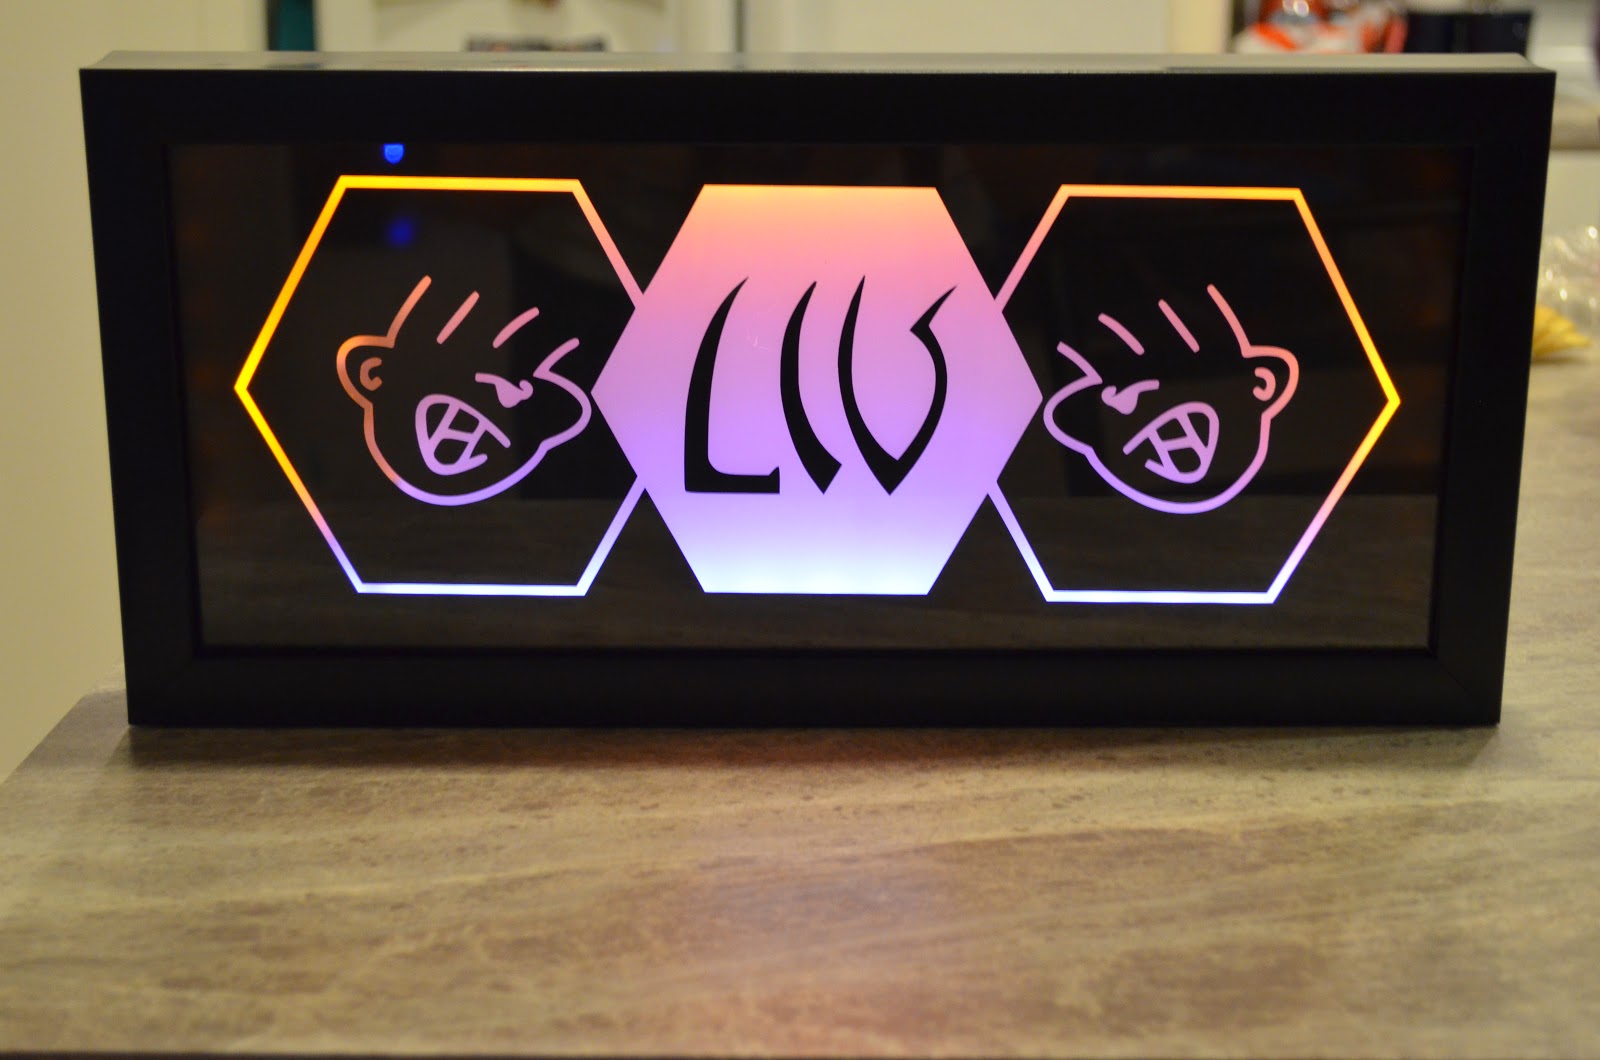
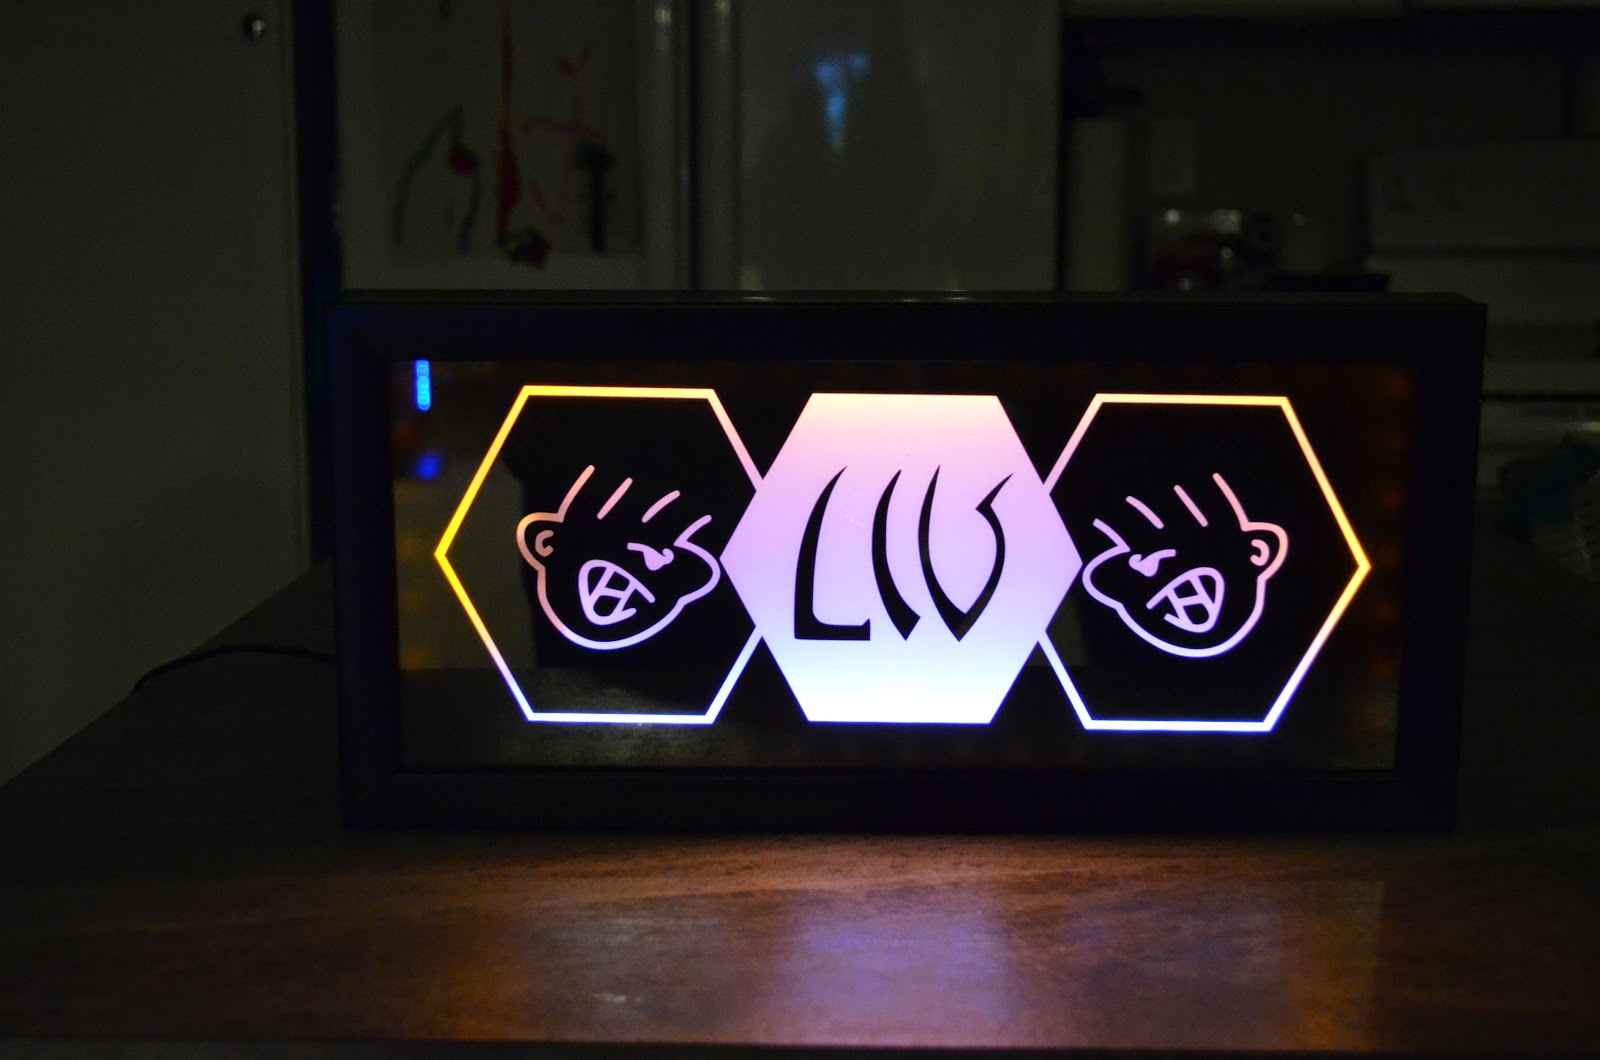
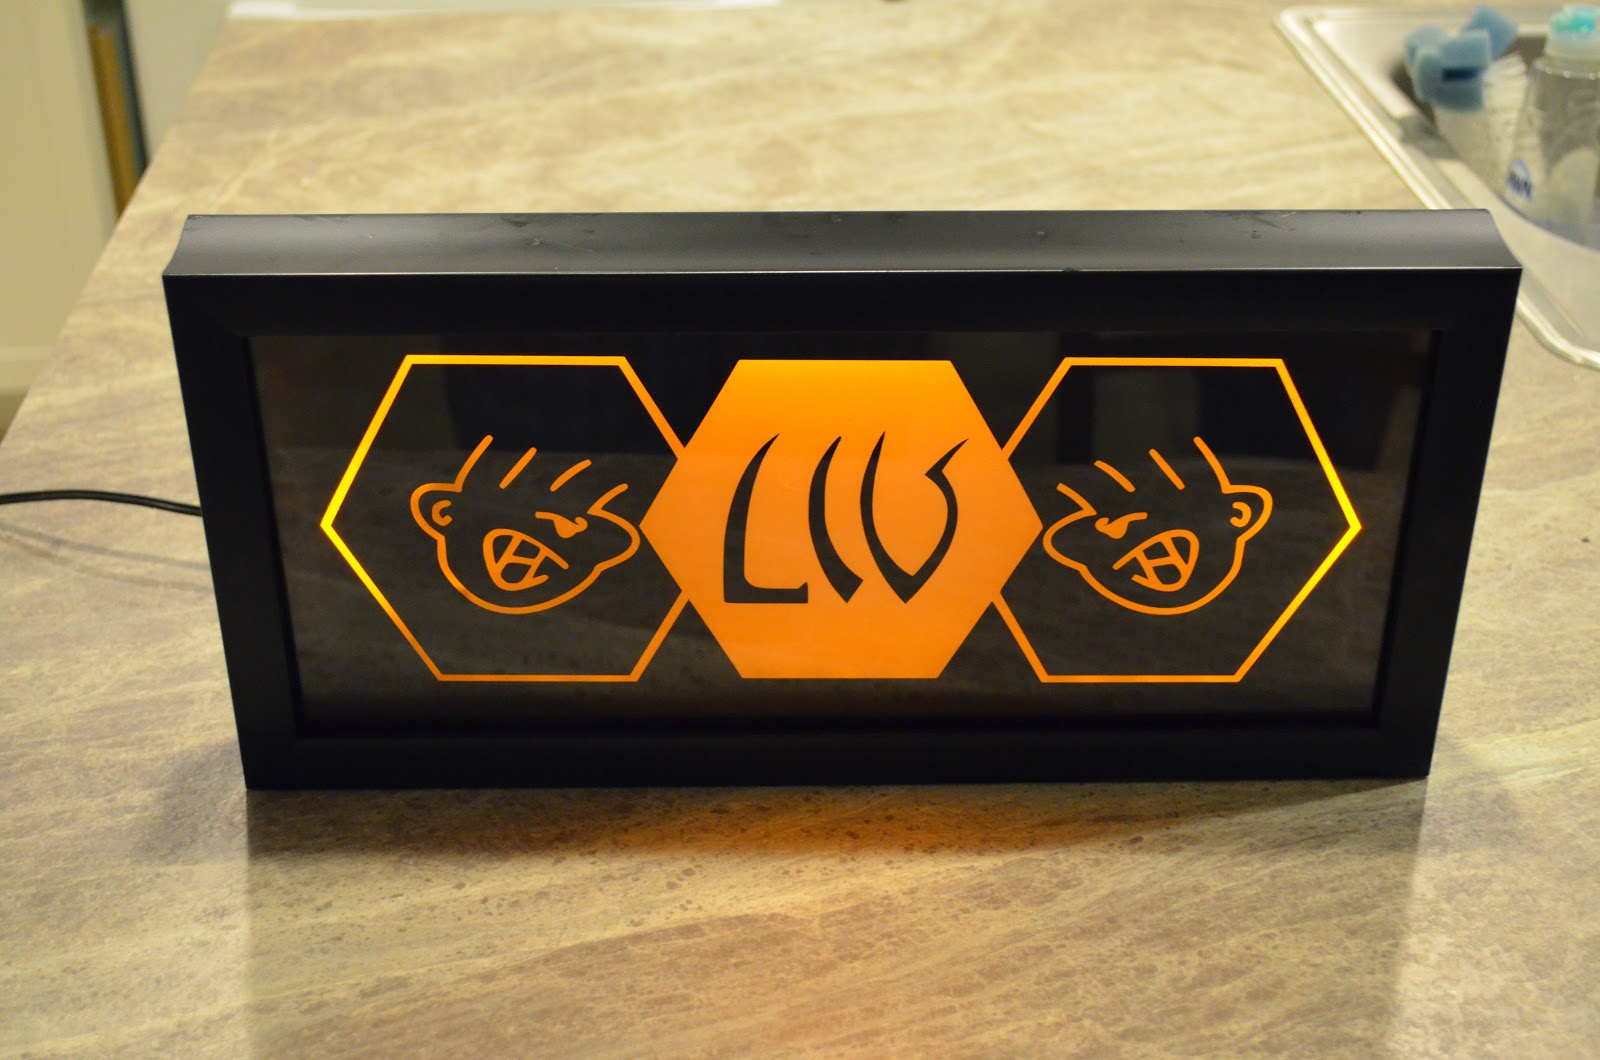
Here are a bunch of different shots with different lighting conditions and with the white LEDs at different strengths. In the end I'd say it comes pretty close to replicating the Logo.


Materials Used:
6" x 14" Shadow Box: http://www.michaels.com/studio-d%C2%8Eecor-shadowbox-black-6x14in/10223093.html#start=4
Rust-Oleum Spray on Frosting: http://www.homedepot.com/p/Rust-Oleum-Specialty-11-oz-Frosted-Glass-Spray-Paint-1903830/100195608
12" x 24" .093 Clear Polycarbonate x2 : http://www.homedepot.com/p/LEXAN-12-in-x-24-in-x-093-in-Clear-Polycarbonate-Sheet-GE-33/202038063
60cm BitFenix Alchemy Connect LED Strip - Orange: http://www.amazon.com/gp/product/B00IB8IB4U/ref=oh_aui_detailpage_o04_s00?ie=UTF8&psc=1
30cm itFenix Alchemy Connect LED Strip - White: http://www.amazon.com/gp/product/B00IB8IGR2/ref=oh_aui_detailpage_o04_s01?ie=UTF8&psc=1
JACKYLED 12v DC Power : http://www.amazon.com/gp/product/B00FXN4TZG/ref=oh_aui_detailpage_o04_s00?ie=UTF8&psc=1
LED Wholesalers PWD Controller : http://www.amazon.com/gp/product/B003L4KKF2/ref=oh_aui_detailpage_o04_s00?ie=UTF8&psc=1
Size M Panel-Mount coaxial power jack : http://www.radioshack.com/size-m-panel-mount-coaxial-power-jack-w-switch/2741582.html#.VLPuZ9XF-0w
Generic Matte Black Spray Paint
Generic Gloss White Spray Paint
Guerrilla Glue 2 Part Epoxy
Super Glue